How to Measure And Specify Mesh Count For Architectural Cladding
Architectural metal mesh can transform a plain facade into a layered surface with depth, shade, movement, and controlled visibility. The visual result depends on much more than choosing stainless steel or aluminum. Mesh count, wire diameter, opening size, open area, panel dimensions, and the supporting system all influence how the cladding performs and appears.
A reliable specification connects the design image with measurable manufacturing data. If a project team describes a mesh as “dense,” “semi-transparent,” or “light-filtering” without defining the actual construction, different suppliers may quote products with noticeably different transparency, weight, and rigidity.
The process becomes clearer when mesh count is treated as one part of a complete architectural mesh schedule. The following method helps designers, contractors, and purchasing teams compare options, calculate quantities, and communicate requirements accurately to a metal mesh manufacturer.
What Mesh Count Means On A Facade
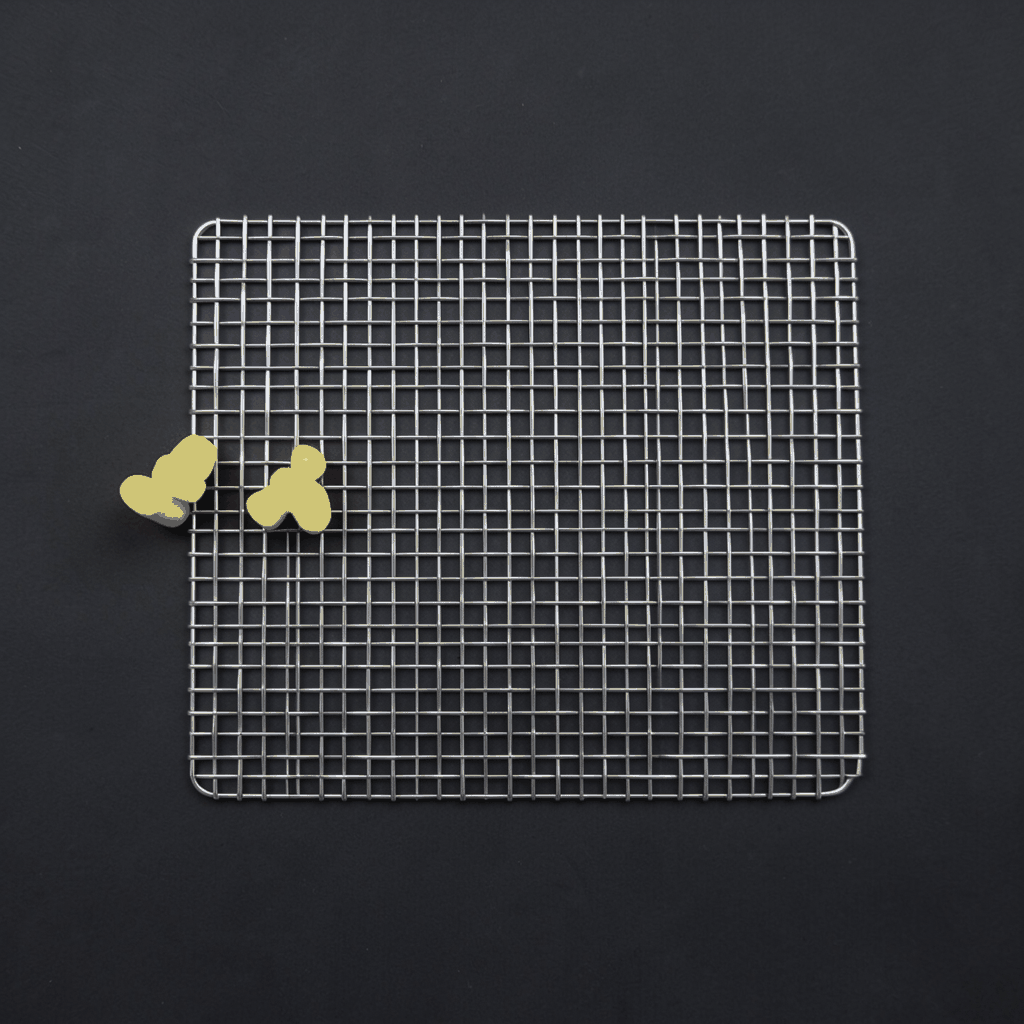
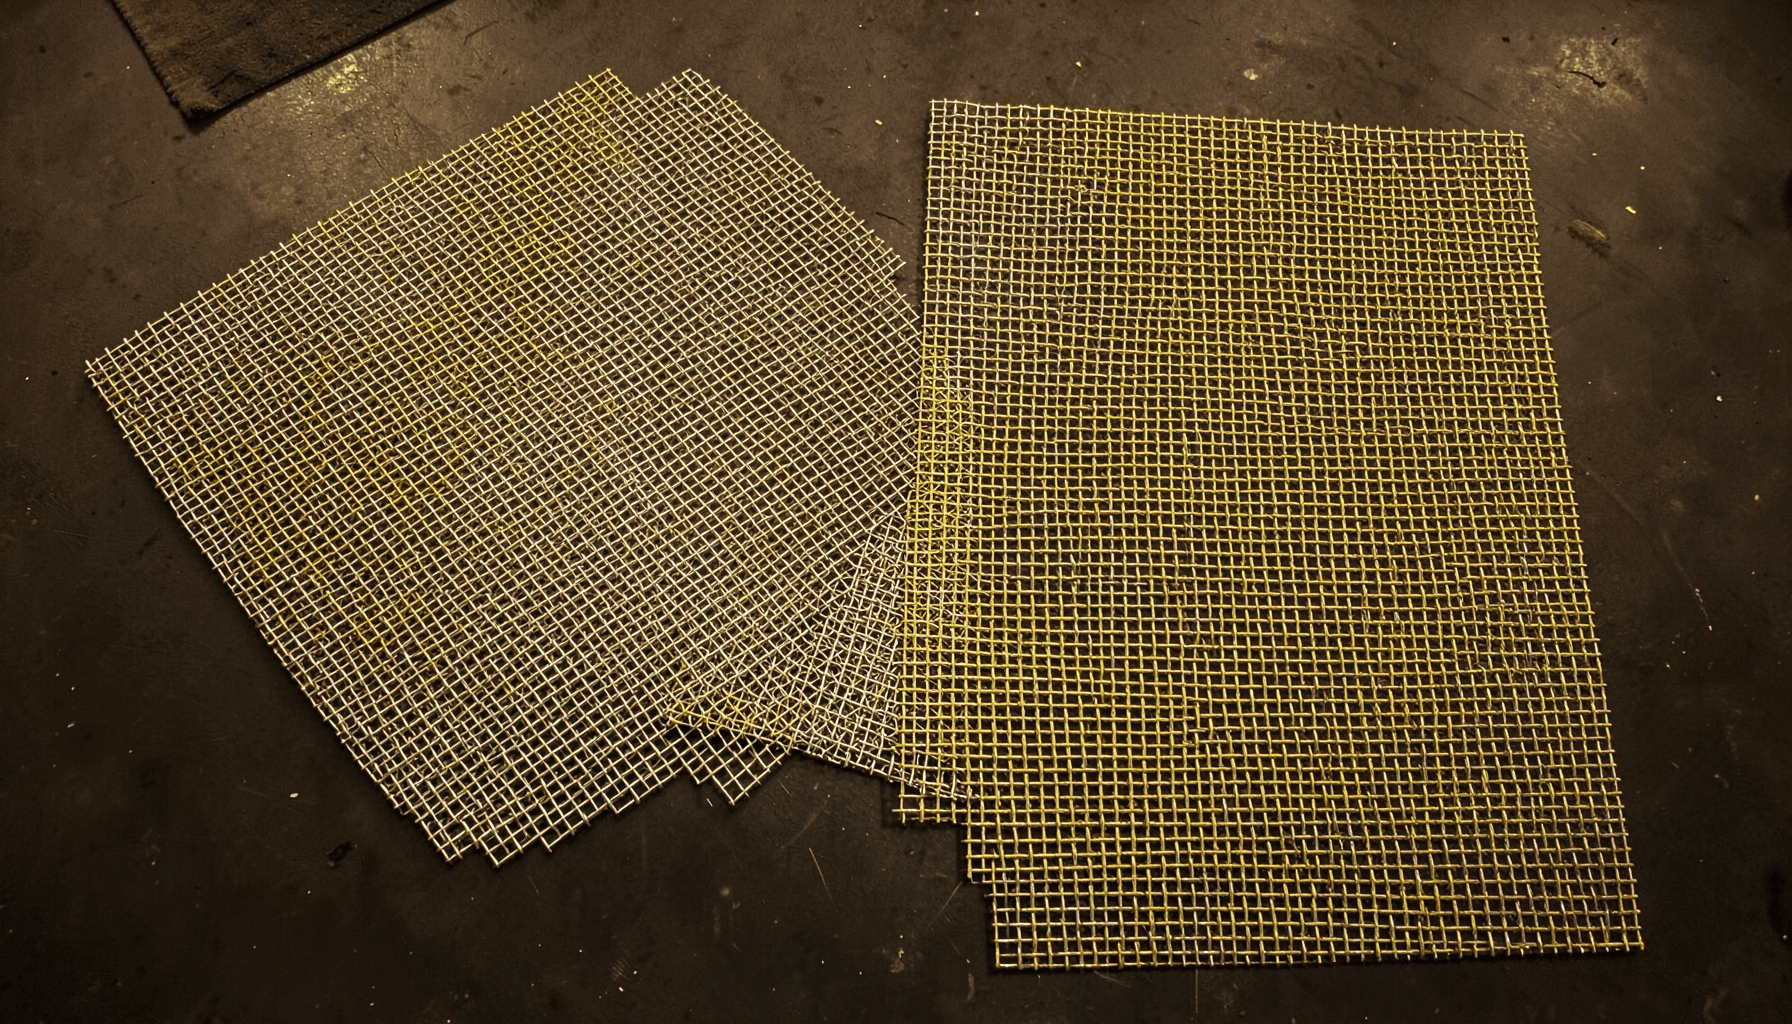
For woven wire mesh, mesh count generally describes the number of openings or wires measured across a specified linear distance, commonly one inch. A higher count usually indicates smaller openings, although the final opening size also depends on wire diameter and the weaving pattern. Two products with the same nominal count can therefore have different transparency if their wires are different thicknesses.
Architectural cladding may use plain weave, twill weave, Dutch weave, welded mesh, expanded metal, perforated sheet, or custom decorative constructions. The term “mesh count” is most precise for woven products. Expanded and perforated panels are usually specified through strand width, strand thickness, aperture size, pitch, hole shape, or percentage of open area.
For a woven facade screen, record at least the warp wire diameter, weft wire diameter, mesh count in both directions, clear opening, and open area. If the visual effect matters, request a physical sample because woven mesh can look more opaque at a distance, more reflective in sunlight, or more transparent when viewed obliquely than a drawing suggests.
Start With Cladding Performance
The correct mesh density depends on the purpose of the outer layer. A screen intended to conceal mechanical equipment may require a tighter opening and lower visibility, while a decorative entrance feature may prioritize airflow, sparkle, and movement. Solar control screens need a balance between shading and daylight transmission, and ventilated rainscreen applications must preserve the required air path.
Wind exposure is equally important. A very open mesh may reduce wind pressure, but a larger panel can still experience significant movement if it is inadequately tensioned or supported. A dense mesh presents more surface area and may increase dead load, wind load, and fixing requirements. The engineer should assess the complete assembly, including rails, brackets, perimeter frames, clips, and any backing wall.
Material selection affects the specification as well. Stainless steel offers corrosion resistance and a crisp industrial appearance, while aluminum reduces weight and can support anodized or powder-coated finishes. Copper develops a changing patina, and iron or carbon steel may require a protective coating system. Environmental exposure, cleaning access, fire requirements, and galvanic compatibility should be addressed before the mesh count is finalized.
Measure The Building Before Mesh
Begin with a measured elevation or verified digital model. Record the overall width and height of each cladding zone, then divide the facade into practical panels based on floor levels, corners, openings, movement joints, access doors, and the manufacturer’s maximum recommended dimensions. Do not calculate the entire elevation as one uninterrupted rectangle unless the support design genuinely allows it.
For each zone, measure the finished structural opening rather than relying on nominal architectural dimensions. Note slab edges, parapets, soffits, window reveals, equipment screens, and offsets from the backing wall. A small difference at every floor can create a substantial mismatch when mesh panels are prefabricated. Confirm whether dimensions are taken to the face of the support frame, the centerline of a fixing, or the finished outer edge.
Allow for fabrication and installation tolerances in the schedule. Woven mesh can be cut, folded, framed, or tensioned, and its visual alignment may change slightly at panel edges. State whether dimensions are theoretical, field-verified, or approved-for-fabrication. Include a dimensioning responsibility so the manufacturer knows which measurements govern production.
If the mesh is installed as a curtain or flexible screen, measure the track length, drop, return, overlap, and stacking zone separately. A decorative lobby installation may need a generous gathered ratio, while a taut exterior screen requires a controlled finished width. Designers developing hospitality interiors can review these hotel lobby concepts when considering how density, drape, and lighting interact.
Translate Design Intent Into Specification
Start the product description with the material and construction, then define the visual and performance targets. A useful line might state: “Stainless steel woven architectural mesh, plain weave, approximately 40 openings per inch, 0.30 mm wire diameter, minimum 45% open area, supplied in framed panels with a brushed finish.” The exact values will vary, but the format prevents vague descriptions from reaching the quotation stage.
Open area is often more meaningful than count alone. It expresses the proportion of the mesh that remains open and helps communicate airflow, visibility, and daylight transmission. It can be estimated from the clear opening and wire dimensions, but the manufacturer should confirm the value for the selected weave and production tolerance. For facade studies, compare open area with actual viewing distance and lighting conditions.
Use a sample board to review several densities under project lighting. A mesh that appears transparent in a small office may read as a solid metallic veil across a sunlit elevation. Add samples of the proposed finish, frame color, adjacent glass, stone, or cladding material. For a high-profile facade, a mock-up should show joints, corners, fasteners, tensioning, and the relationship between mesh and backing wall.
| Architectural Mesh Option | Main Specification Data | Visual Effect | Typical Cladding Use | Key Measurement Concern |
|---|---|---|---|---|
| Fine woven mesh | High count, small wire, clear opening, open area | Refined veil with reduced visibility | Feature facades, elevator surrounds, interior partitions | Confirm transparency and clean edge treatment |
| Medium woven mesh | Count in both directions, wire diameter, weave pattern | Balanced screening and texture | Solar screens, lobby walls, decorative envelopes | Coordinate panel tension and support spacing |
| Coarse woven mesh | Low count, larger opening, heavier wire | Strong pattern with high airflow | Equipment screens, robust exterior features | Check deflection, impact exposure, and edge stability |
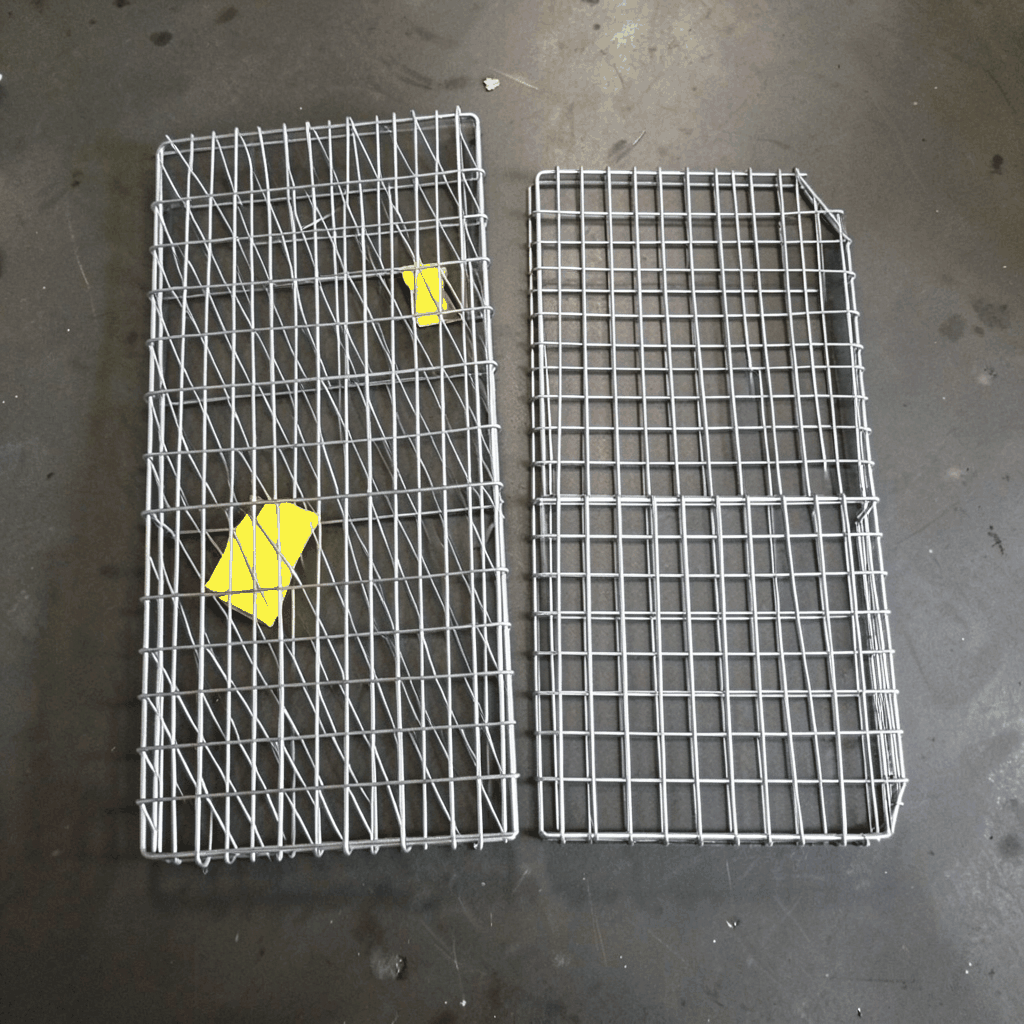
| Expanded metal | Strand width, strand thickness, aperture, pitch | Directional diamond or custom opening | Ventilated rainscreens, fences, sunshades | Specify orientation and cutting direction |
| Perforated metal | Hole shape, diameter, pitch, open area, sheet thickness | Precise, regular graphic surface | Wall panels, elevator cladding, signage backgrounds | Coordinate hole pattern with panel joints |
Coordinate Fabrication And Installation
Panel layout should be agreed before the mesh count is locked into the purchase order. The layout determines where seams, hems, folded edges, framed borders, and fixing points will appear. If a strong visual grid is required, align the warp or pattern direction with the facade datum and define how the mesh turns at corners.
Ask the manufacturer to provide a shop drawing showing panel numbers, finished dimensions, mesh orientation, edge construction, frame profiles, fixing points, and installation gaps. The drawing should identify which dimensions are clear mesh size and which include the frame or mounting hardware. This distinction prevents errors when calculating quantities and setting out the support steel.
For large exterior panels, clarify how the mesh will be stabilized. Options may include perimeter frames, rods, tension bars, intermediate rails, cables, or concealed clips. The chosen system affects the visible open area and may create shadow lines that alter the intended appearance. Access panels and removable sections should be marked from the beginning rather than added after fabrication.
Finishing requirements deserve equal attention. Specify whether the surface is mill finish, brushed, polished, anodized, powder coated, painted, or chemically treated. Define the acceptable direction of brushing, color reference, coating thickness, and sample approval procedure. Stainless steel may show subtle variation between batches, while coated aluminum can vary with gloss, texture, and production lot.
Build A Clear Mesh Schedule
A mesh schedule should allow a different party to understand and price the product without interpreting design adjectives. Include location, panel reference, material, alloy or grade, weave or perforation type, mesh count where applicable, wire or sheet thickness, aperture, open area, finish, panel size, edge treatment, support method, and quantity.
State the tolerances that matter visually and structurally. These may include panel width and height, squareness, opening size, wire diameter, coating color, frame alignment, and allowable bow or deflection. The manufacturer can confirm realistic production tolerances, but the project specification should identify which variations require review.
Quantity calculations should separate net mesh area from finished panel area. Add allowances for hems, folds, overlaps, waste, directional pattern matching, and replacement pieces. For curtains, distinguish track length from fabric width and state the fullness ratio. For rigid panels, list each unique size instead of applying one average dimension to the whole elevation.
Use the following checks before releasing the request for quotation:
- Define mesh count together with wire diameter, clear opening, and open area.
- Verify every cladding zone against field measurements or an approved digital model.
- Identify material grade, finish, weave direction, panel edges, and support details.
- Request a sample or mock-up that includes joints, fixings, lighting, and adjacent finishes.
- Separate supply quantities, framing, hardware, installation, and replacement allowance.
Turn Measurements Into A Fabrication Brief
A practical fabrication brief brings design, engineering, and procurement into the same document. Attach elevation drawings, enlarged corner details, a panel numbering plan, finish references, performance criteria, and the mesh schedule. Mark areas where the supplier may propose an alternative construction, such as changing wire diameter while preserving open area and visual density.
When comparing quotations, check equivalent data rather than comparing unit prices alone. A lower price may reflect a thinner wire, smaller panel allowance, a different finish, fewer edge components, or a mesh with substantially different openness. Ask suppliers to identify deviations from the requested count, aperture, material, and support system.
Shuo Ke Wire Mesh Product Technology Co., Ltd. can support customized architectural mesh requirements across decorative screens, cladding, partitions, and related metal products. Share the measured elevations, target appearance, performance needs, and preferred material so the proposed mesh construction can be reviewed against the actual project conditions.
Send a complete mesh schedule with your drawings and request a project-specific quotation, samples, and shop drawings before fabrication begins. Clear measurements at the design stage create a better visual match, more predictable installation, and a cladding system that performs as intended.